

First login & setup
After activation, sign in and complete the Welcome to Glory Desk wizard so categories, wording, and modules match your business.
Before you start
- License activated — you clicked Continue to Glory Desk (Activate)
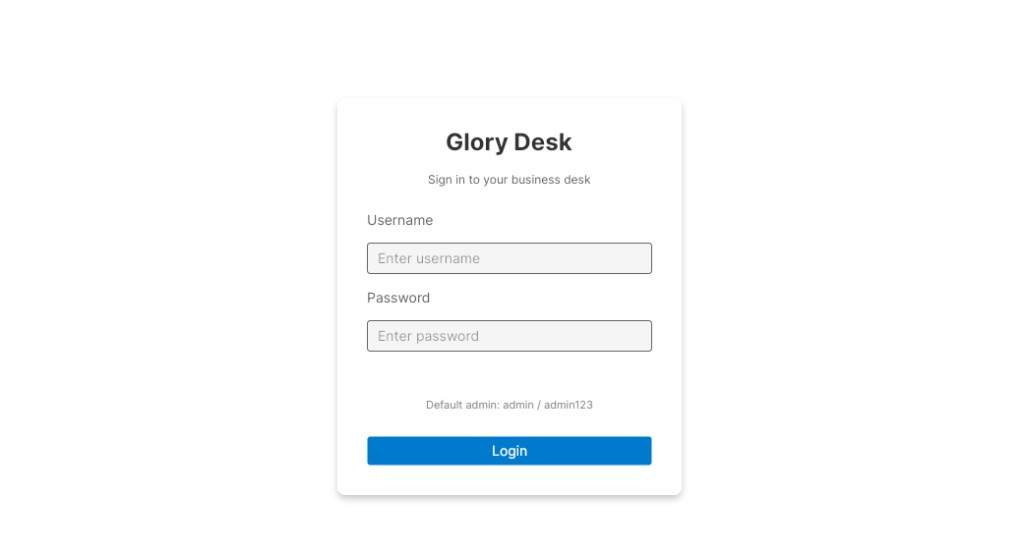
- You are on the Login screen titled Glory Desk with subtitle Sign in to your business desk
- You are ready to set a strong admin password (do not leave the default forever)
Default administrator (first install)
On a brand-new database Glory Desk creates:
| Field | Default value |
|---|---|
| Username | admin |
| Password | admin123 |
The login screen also shows: Default admin: admin / admin123
Steps
1. Sign in
- In Username, type
admin(or the user your installer created). - In Password, type the password (default
admin123on first install). - Click Login.
What you should see next
- First run: Welcome to Glory Desk setup wizard
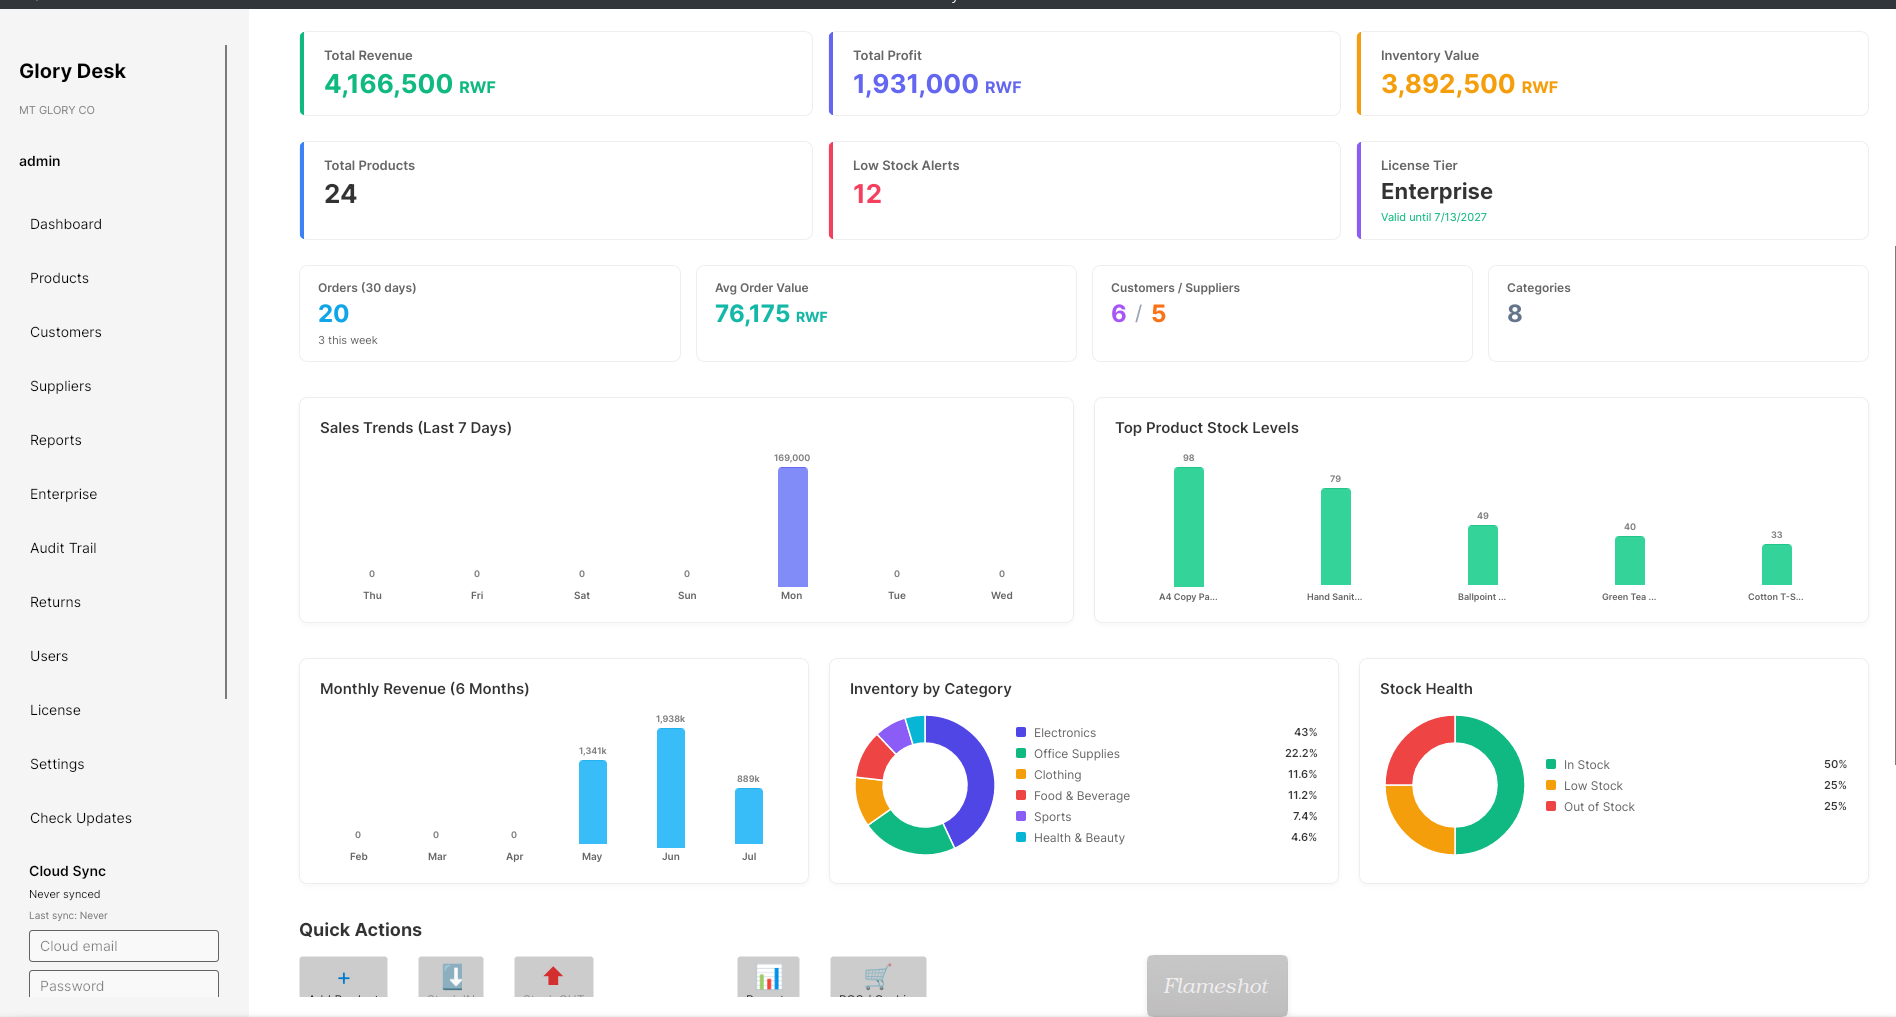
- Later runs: Dashboard (if setup was already completed)
If login fails, read the red error line under the password field, then see If something goes wrong.
2. Understand the setup wizard
Header:
- Title: Welcome to Glory Desk
- Text: This quick setup configures categories, terminology and modules for your type of business.
Three steps in the indicator:
- Business Info
- Industry Template
- Confirm
3. Step 1 — Business Info
Screen title: Tell us about your business
| Field | What to enter |
|---|---|
| Store / Business Name | e.g. your shop name (watermark: e.g. My Store) |
| Address | Store address |
| Currency Symbol | e.g. RWF, $, € |
- Fill the three fields.
- Click Next (continue control on the wizard).
4. Step 2 — Industry Template
Screen title: Choose the template that best fits your business
Help text explains it pre-configures categories, units, terminology, custom fields, and modules. You can change everything later in Settings.
Pick one template (click to select):
| Template | Typical use |
|---|---|
| Generic Retail / General Store | Everyday retail |
| Farm Supply / Agro-Input Store | Agro inputs |
| Coffee & Agro-Processing | Coffee / processing |
| Wholesale Distribution | Wholesale |
| Light Manufacturing | Light production |
| Services Business | Services-led |
Optional: Skip / I'll configure manually if you want a blanker start.
Then continue to Confirm.
5. Step 3 — Confirm and finish
- Review the summary of business name and template.
- Confirm / finish the wizard (on-screen confirm control).
- Glory Desk opens the main shell — usually Dashboard.
6. Secure the admin account (do this on launch day)
- Open Team Users in the sidebar (admin role).
- Edit the admin user (or create a named owner account).
- Set a strong unique password.
- Create separate users for cashiers later (Cashier role) — do not share admin on the till.
What success looks like
- Login works without a red error
- Wizard completed or intentionally skipped
- Dashboard loads
- Store / Business Name and currency feel correct in the app
- Admin password is no longer the default
Re-run setup later
Admins can reopen the wizard from Settings (setup / business setup entry that launches the wizard again). Use this if you picked the wrong industry template on day one.
If something goes wrong
| Problem | What to try |
|---|---|
| Wrong username/password | Use admin / admin123 on a fresh install; check Caps Lock |
| Still sent to License screen | License not valid — return to Activate |
| Wizard never appears | Setup may already be marked completed — continue to Dashboard / Settings |
| Wrong template chosen | Re-run wizard from Settings, or adjust Settings → Business Setup and modules manually |
| Cannot open Team Users | Your role is not Admin — ask the owner |
| Forgot admin password | Contact support@mtglory.com with company name and Hardware ID for recovery guidance |
Tips
- Use RWF as currency symbol if you price in Rwandan francs.
- Industry templates are a head start, not a prison — Settings can override them.
- After setup, skim Navigating the app before training cashiers.